How to Safely Handle Moss on Your Roof and Siding
Seeing moss on your roof or siding? Learn what causes it, the risks it poses, and the safest ways for homeowners to clean and prevent moss growth.
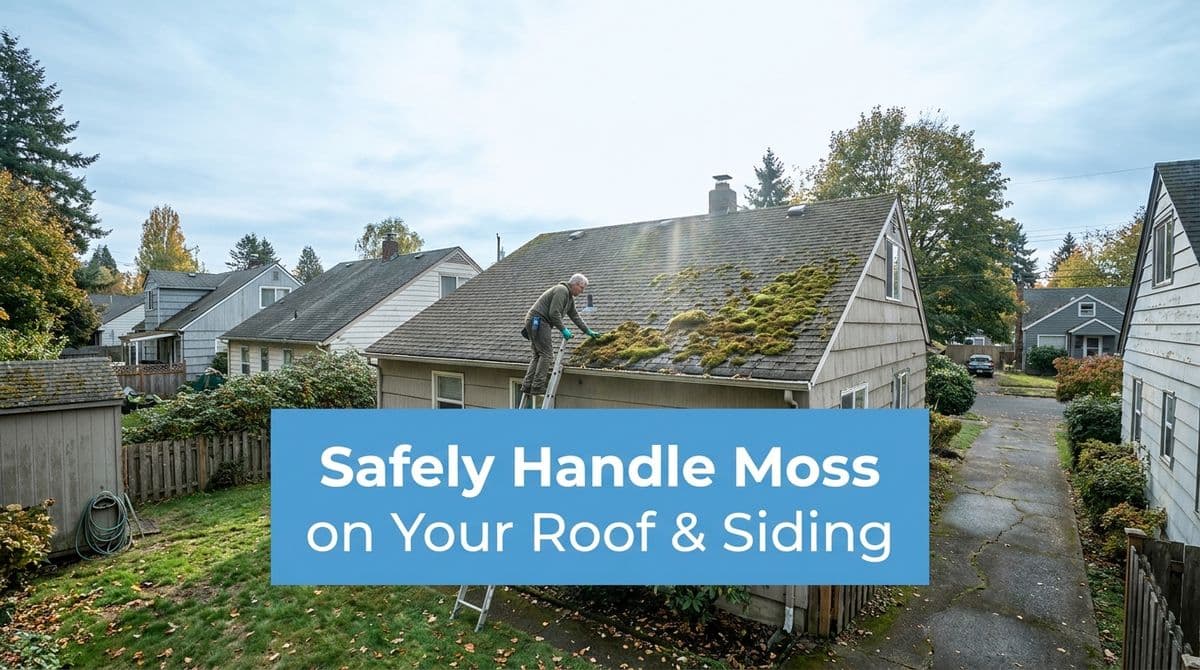
A Homeowner Called About Moss on Roof and Siding
We recently got a call from a homeowner — let’s call her Lisa — who had a question we hear a lot. She was looking for gutter cleaning and mentioned she also had “a little bit of moss showing up on a section of the roof and the vinyl siding right next to it.”
Lisa wasn’t sure how serious it was or what the safest way was to clean it. She’d done a quick Google search, saw a lot of conflicting advice about pressure washing, bleach, and DIY sprays, and decided it was better to talk to a professional. We set up a visit so we could look at the roof, the gutters, and that mossy siding section.
On the way out to her place, we thought it would be helpful to walk through the same explanations we shared with her — because if you’re seeing moss on your roof or siding, you’re probably wondering the same things: Why is this happening, is it damaging anything, and what’s the safest way to get rid of it?
Why Moss Grows on Roofs and Siding
At Lisa’s home, the moss was concentrated where a sloping roof met the wall, right beside the gutters. That setup created a perfect little habitat for moss:
- Shade: That section didn’t get much direct sun because of nearby trees and the roof angle.
- Moisture: Gutters in that area were partially clogged, so water lingered near the roof edge.
- Organic material: Leaves and debris sitting on shingles gave moss something to anchor to.
Whenever we see roof or siding moss, it’s almost always some combination of these three: shade, moisture, and debris. North-facing sides of the home, areas under large trees, and places near gutters and roof valleys are the most common trouble spots.
Is Moss Just Ugly, or Is It a Real Problem?
We wish moss were just a cosmetic issue, but it can cause real damage if it’s left alone too long. Here’s what we walked Lisa through during our inspection:
- On asphalt shingles: Moss acts like a sponge, holding water against the roof. Over time, that moisture can shorten shingle life, lift edges, and increase the risk of leaks.
- On vinyl siding: While the moss itself doesn’t usually eat the siding, trapped moisture can stain, promote mildew, and slowly affect caulking, trim, and nearby wood.
- In gutters and roof edges: Moss and organic buildup can block drainage, causing water to back up under shingles or overflow down walls and around your foundation.
The earlier you deal with moss, the easier and safer it is to remove — and the less likely you’ll be dealing with bigger (and more expensive) repair issues down the road.
What You Should Never Do to Roof Moss
When we talk with homeowners like Lisa, the first thing we usually cover is what not to do. Some cleaning methods can do more harm than the moss itself.
- Don’t blast it with high-pressure washing. High pressure can strip the protective granules off asphalt shingles, force water up under the roofing, and void roof warranties. On siding, it can drive water behind the panels.
- Don’t scrape aggressively with stiff brushes or tools. It’s tempting to just “scrub it off,” but that can damage shingle surfaces and siding finishes.
- Don’t pour straight bleach all over the roof. Strong, undiluted bleach can damage plants, discolor roofing, and corrode metal gutters and fasteners.
We always tell homeowners: if a method looks like it could physically wear away the roof or siding surface, it’s not the right approach.
Safer Cleaning Methods for Homeowners
There are safer ways to tackle light moss growth, especially if you catch it early like Lisa did. Here’s how we generally recommend handling it as a homeowner:
1. Start with Safety and a Ground-Level Inspection
Before anything else, think about your safety:
- Use binoculars or a zoomed-in phone camera from the ground to inspect the roof.
- Avoid climbing on steep roofs or working near roof edges if you’re not fully comfortable and equipped.
- Remember that wet, mossy areas are extremely slippery.
If the moss covers a large area, is thick, or is on a high/steep roof, that’s a strong sign to bring in a professional instead of DIY.
2. Clean Gutters and Remove Debris
One of the first things we planned for Lisa’s home was a thorough gutter cleaning. You can often reduce moss-friendly conditions by:
- Cleaning gutters so water flows freely and doesn’t back up onto the roof.
- Gently removing loose debris (leaves, sticks) from the roof surface using a blower from the ladder or ground where possible.
- Trimming back overhanging branches to allow more sunlight and airflow.
These steps don’t remove existing moss completely, but they help stop it from spreading and returning.
3. Use a Low-Pressure, Moss-Specific Treatment
For light to moderate moss, our preferred approach is a low-pressure “soft wash” treatment with cleaning solutions designed for roofs and siding. For homeowners, that means:
- Choosing a moss or roof cleaner specifically labeled for your roof type or vinyl siding.
- Applying it gently (no pressure blasting) per the manufacturer’s instructions.
- Letting the solution do the work — moss often turns brown and loosens over days or weeks.
With soft washing, we’re not trying to rip the moss off in one go. Instead, we treat it so it dies and releases naturally, which is gentler on the roof and siding.
When to Call a Professional
In Lisa’s case, the moss was in a tricky spot where the roof met the siding, with gutters involved and some height to the work area. We recommended a professional treatment because:
- The area was slippery and elevated, so fall risk was real.
- The moss was tight to the shingle edges, where aggressive cleaning could cause damage.
- We could combine roof, siding, and gutter service in one visit, protecting everything while we worked.
In general, it’s smart to call a pro if:
- You have a two-story or steep roof.
- The moss is thick, widespread, or has been there for years.
- You’re unsure what type of roofing material you have or what cleaners are safe for it.
A professional cleaning team can assess the growth, use the right solutions, protect your landscaping, and work safely at height — all while preserving your roof and siding warranties.
Keeping Moss Away After Cleaning
Once we complete a moss removal job, homeowners always ask how to keep it from coming back. For Lisa, and for you, we suggest:
- Regular gutter cleaning (usually once or twice a year, depending on nearby trees).
- Annual visual checks of shaded roof and siding areas, especially north-facing sides.
- Trimming back trees that keep areas constantly damp and shaded.
- Scheduling periodic soft washing to prevent light growth from turning into a thick moss blanket.
Moss doesn’t appear overnight, and it doesn’t have to be a crisis. With the right cleaning methods and a bit of preventative care, you can keep your roof and siding looking good and performing well for years.
If you’re noticing those first green patches on your own roof or siding and aren’t sure whether it’s time to act, we’re always happy to take a look and give you honest guidance on the safest way to handle it.